How to add & manage users for your company in QuickBooks Online
In this video, you'll learn how to add and edit additional users for your company including:
Setup new users and administrators to enter transactions
Add new users that only have access to reports, entering their time activities, or receiving payments
Edit existing users to change their access levels
How to Add Users to QuickBooks Online
1. Open the QuickBooks Online company.
2. Navigate to the gear icon 🡪 Manage Users under the Your Company section.
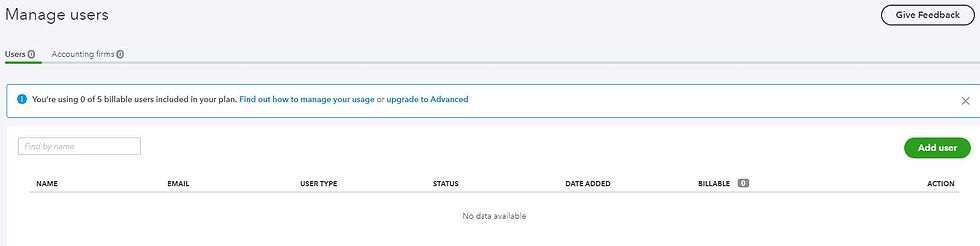
3. Ensure the Users tab is selected; the total number of existing users displays in the name of
the tab.
4. Click Add user.
5. Choose a type of user.
6. Click Next.
7. Set the user’s access rights.
8. Click Next.
9. Select the user’s settings.
10. Click Next
11. Enter the user’s name and email address; the email address will be their Intuit user ID.
12. Click Save.
The invited user receives an email that contains a link to sign in to the QuickBooks Online
company.
Sources & Disclosures
Some content and images adapted from Intuit / QuickBooks source materials, including support websites; QuickBooks Blog; Firm of the Future, & Intuit Developer Blog. Information may be abridged and therefore incomplete. This document/information does not constitute, and should not be considered a substitute for, legal or financial advice. Each financial situation is different, the advice provided is intended to be general. Please contact your financial or legal advisors for information specific to your situation.